Setting up your Development Environment
The first thing that we will need to do is download and install a Java Development Kit. For this guide we will be using Java version 11, which is the latest “Long Term Support” version. You can download Java 11 here. For more details you may wish to consult Oracle’s Java SE Support Roadmap.
The next thing that we will need to is to download and install an Integrated Development Environment (IDE.) For this guide we will be using Eclipse. Some other good choices for Java IDEs are IntelliJ and Netbeans.
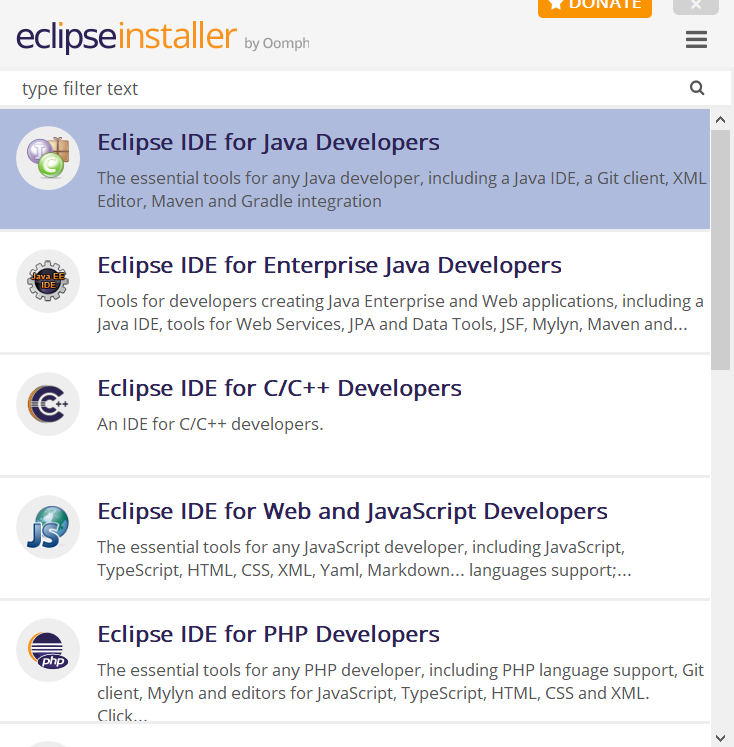
Once you have downloaded and run the Eclipse installer you may select “Eclipse IDE for Java Developers.”
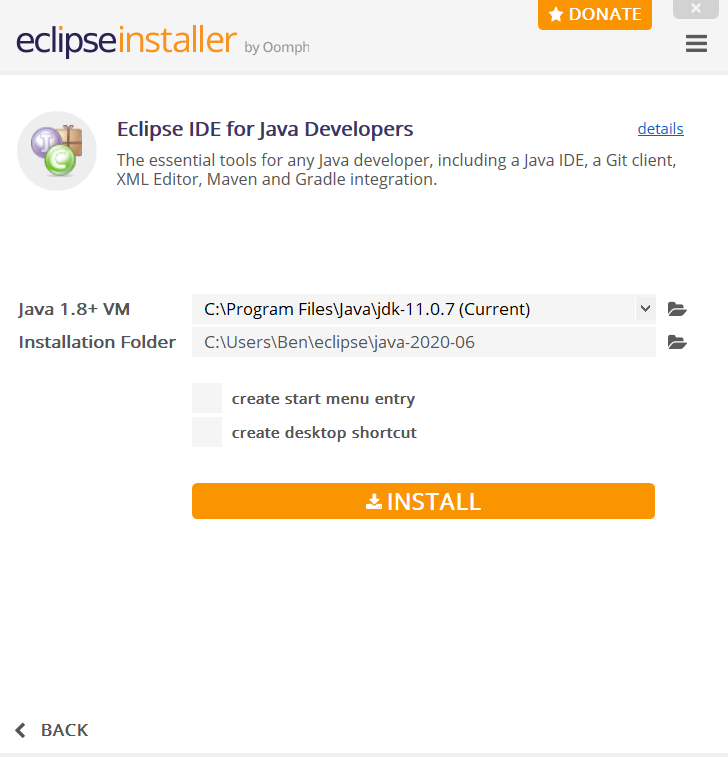
We will also be pointing Eclipse to our Java 11 jdk that we downloaded earlier.
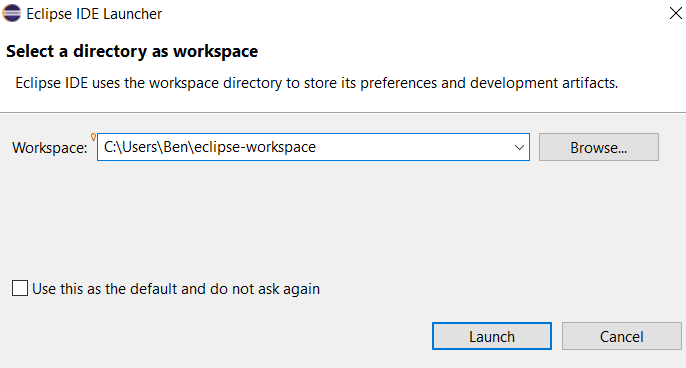
Once Eclipse has been installed you can open it. Eclipse will ask you to select a location for your “workspace.”
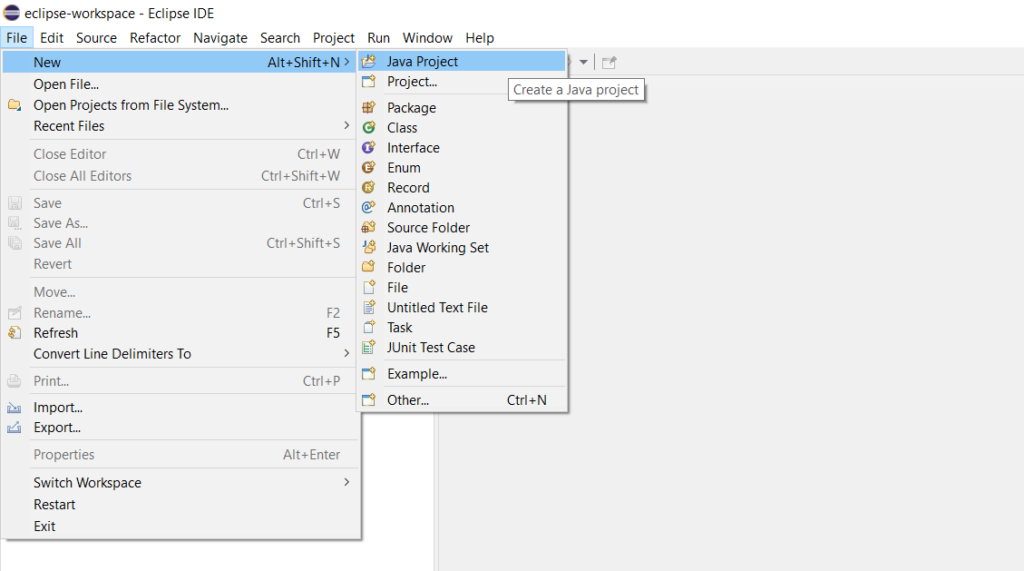
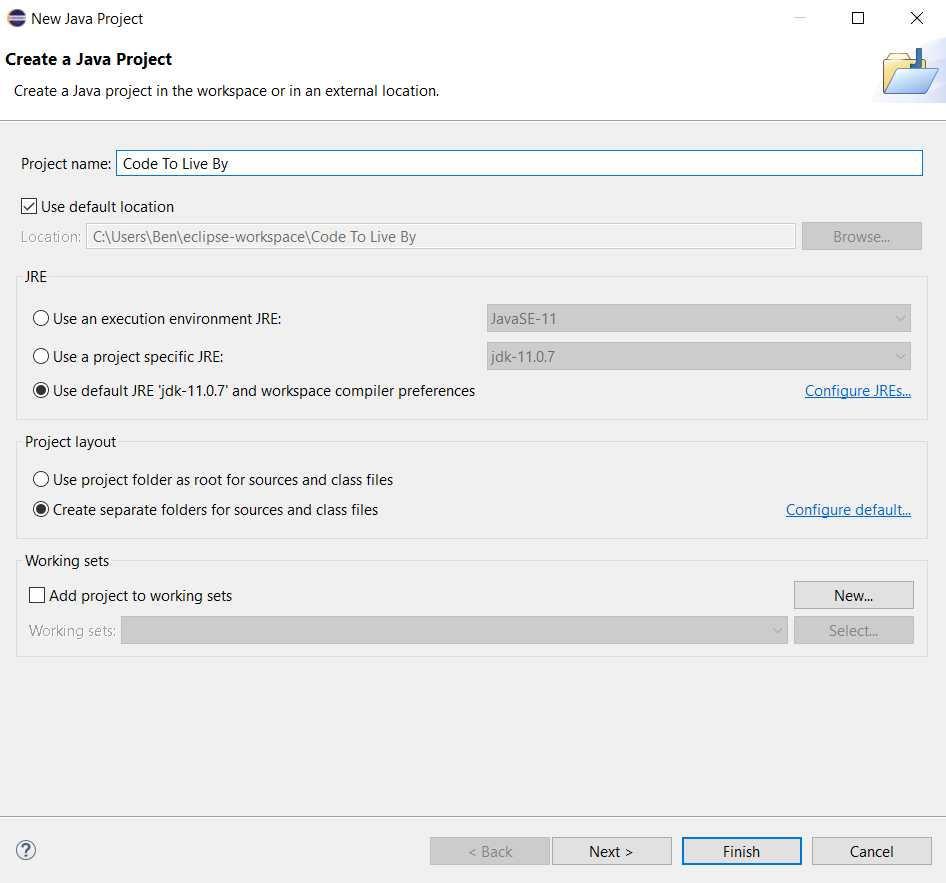
Now that we have Eclipse opened we are going to create a new “Code To Live By” Java project so that we can begin with our “Hello World” program.
Hello World
Now that we have our development environment set up, we can begin writing our first program! “Hello World” is very frequently the first program that someone will make in any given programming language and its simplicity will allow us to make sure that we have everything setup properly and are ready to learn further programming concepts. A “Hello World” program will simply output the text “Hello World” to the console.
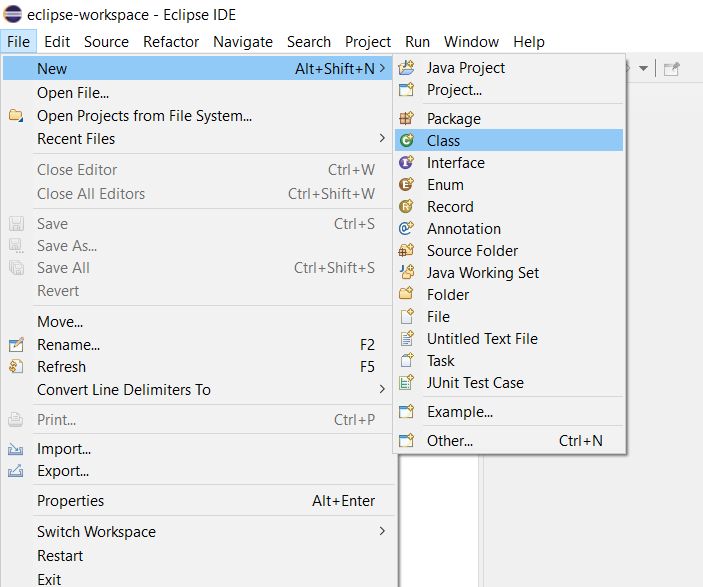
To begin we will add a new class to the Code to Live By project we just created.
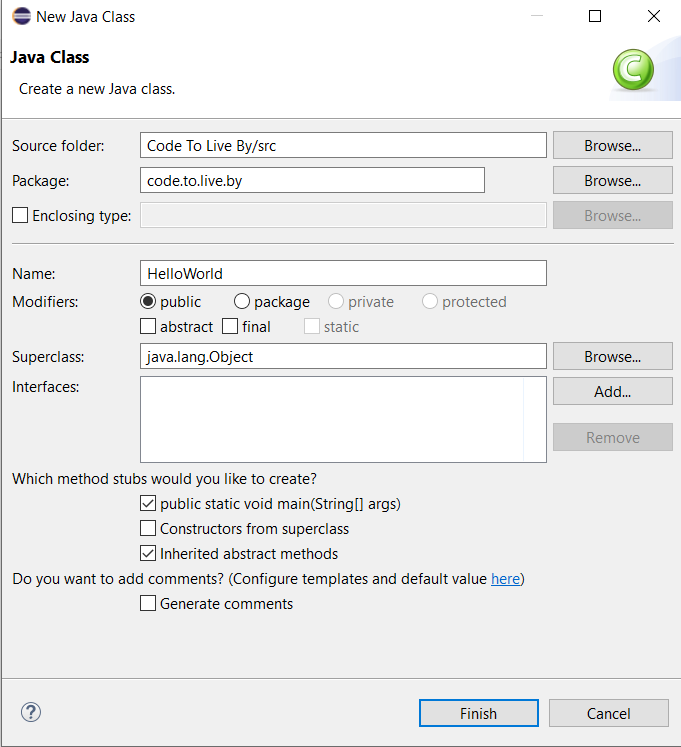
On this screen make sure to select the option to create a public static void main method stub.
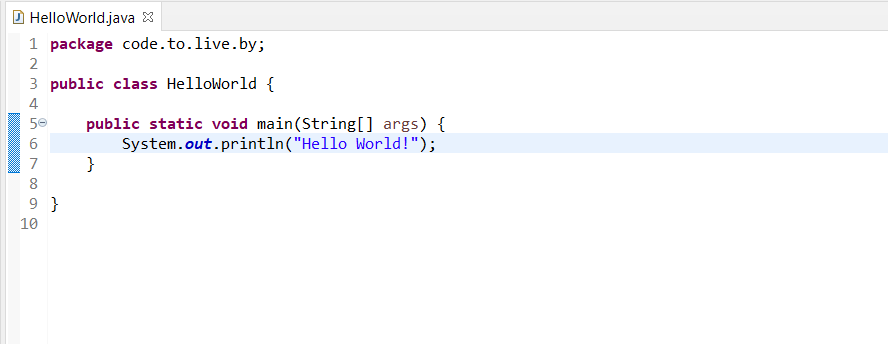
Once you create the class you should see something like this:
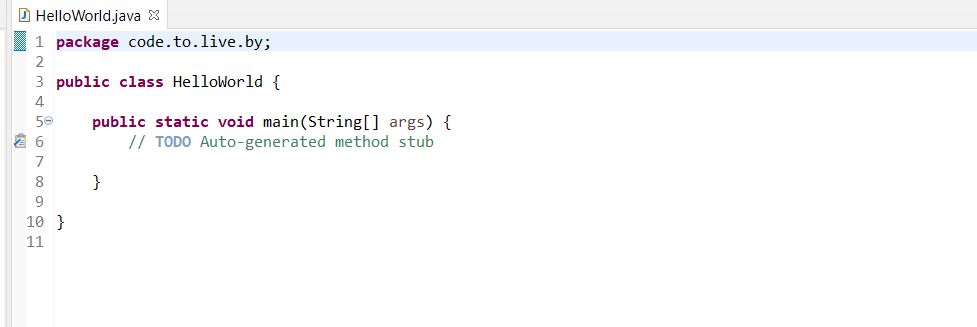
We are going to replace lines 6 and 7 with System.out.println("Hello World!"); To give a very high level breakdown of this statement: we are going to use the System library in Java to print the line “Hello World!” to “standard output,” which in this case is the Eclipse console.
In Java (and many other programming languages) a semicolon is used to indicate the end of a statement.
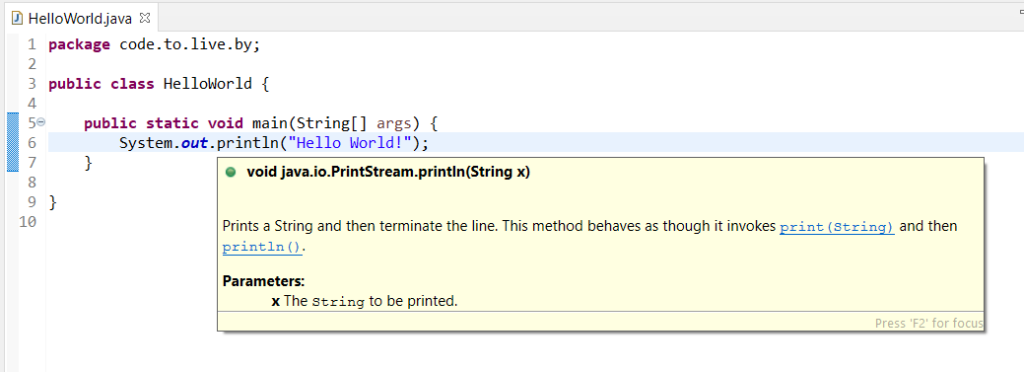
To go on a small tangent, one of the nice things about using an IDE is that you get many tools available such as being able to view documentation. If you hover over println you will get a small description from the Java documentation on what that method does.
Now we are ready to run our program, which can be done by selecting the “Run” icon in the Eclipse toolbar.

We can see in our “Console” near the bottom of the screen that the program has output “Hello World!”

Congratulations! You’ve successfully created and run your first program in Java and have everything set up to begin learning more about Java!